Add content
Files
Picture and video files can be added directly to the schedule.
Add content
- Select the slot you want to add content to
- Click "Add content"
- Click "Add file to..."
- The name of the slot will be displayed on the button
- A file browser will pup up
- Select the file you want and double-click to add it
- If you are adding a picture, you can easily change the duration
- Click "Publish"
Drag and drop
You can also drag and drop a file from your file explore and directly add it to a slot.
Templates
In addition to adding files directly, you can add content by using any of the available templates. Which templates that are available will vary between slots.
A template is used for adding content into a pre-existing design. Usually, you will just have to fill in the required text, and then all the formatting, font types, font sizes, colors, and logos, etc, will be automatically taken care of.
Template selection
You will see all available templates for a slot by selecting the slot and click “Add content”
Here you can see the template that is available when you select the slot “Slot 1”. If you have more templates available, they will be shown in this list.
Use a template to create an article
- Select the slot
- Click "Add content" in the top right
- Select the template you want to use
- Click "Add content" on the template
The template will now show up in the slot as a new article.
Depending on the template, you may need to fill in additional information in the template or add media files, before it can be published.
Here we are using the template "Text and Picture", where we can fill in the following field:
- Name
- Heading
- Body
- Picture
- Duration
Name
This is a generic field that is used for almost every type of template, and it represents the name of the article in the system. This is usually not displayed on the screen, but used for management purposes.
This field is marked by an asterisk, which means that it is required to fill out.
Heading
This field is specific to this template and will replace the heading text.
Body
This field is also specific to this template and will replace the body text.
Picture
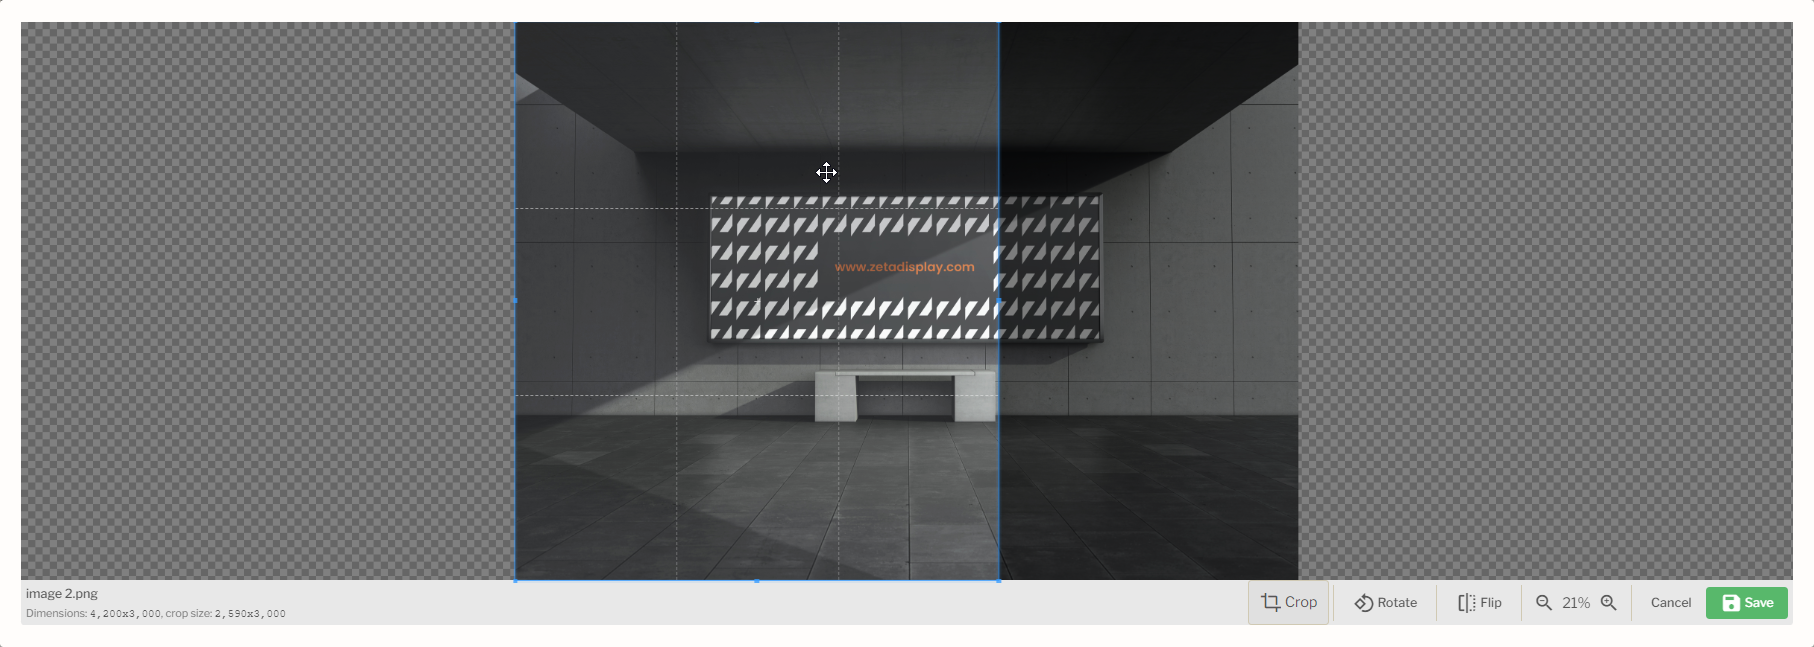
This is the media file of the picture that will be shown. When you click on this field a file browser will pop up for you to choose the picture. After you select a picture, an edit window will pop up where you can do some basic editing of the picture. In many cases the picture will have a given aspect ration, and you will have to choose a crop of the picture that matches this aspect ratio.
This is how the picture editor looks. Note the aspect selection box that is placed on top of the picture.

In the below video we will showcase how the aspect selection box works
Duration
Like the article name, this is also a generic field found in almost every template. This controls how long the article will be displayed on the screen. This is not always needed, for instance, if the template contains a video, the duration will be automatically set to the length of the video.
At any time you can preview how the article will look by clicking the “View” button at the bottom right.
See below how the whole "use a template to create an article" process looks like
